Generally, we use
pressure transmitters in the industrial manufacturing industry to help us complete the conversion between signals. There may be many friends who are not familiar with pressure transmitters. Lizhun Sensing is here to improve your understanding of pressure transmitters. After understanding, we will introduce the method of amplifying the impact pressure of the digital display pressure transmitter and the condition inspection of the pressure transmitter.
1. First of all, a pressure transmitter is a device that converts pressure into a pneumatic signal or an electric signal for control and remote transmission. It can convert physical pressure parameters such as gas and liquid felt by the load cell sensor into a standard electrical signal ( Such as 4~20mADC, etc.), supply indicating alarms, recorders, regulators and other secondary instruments for measurement, indication and process adjustment.
2. How does the digital display pressure transmitter measure the impact pressure?
Digital display pressure transmitters are used in many harsh environments, and generally speaking, pressure transmitters also have high impact resistance, so we usually have the following methods to measure impact pressure.
The first method is to change the chip of the pressure transmitter. This chip is not an ordinary ceramic core or diffused silicon core, but a strain gauge type. The resistance strain gauge is a sensitive device that converts the strain change on the component into an electrical signal. It is one of the main components of the resistance strain sensor. Resistance strain gauges are most commonly used in metal resistance strain gauges and semiconductor strain gauges. There are two types of metal resistance strain gauges: filamentary strain gauges and metal foil strain gauges. The strain gauges are usually tightly bonded to the mechanical strain substrate by special adhesives , when the substrate stress changes, the resistance strain gauge will also deform, changing the resistance value of the strain gauge, thereby changing the voltage added to the resistance. The resistance change of this strain gauge during the stress process is usually very small, generally Said that this kind of strain gauge forms a strain bridge, and is amplified by the subsequent instrumentation amplifier, and then transmitted to the processing circuit. The strain gauge pressure sensor generally has good impact resistance, but the accuracy of this sensor is very low.
The second method is to measure with an ordinary ceramic pressure transmitter or diffused silicon pressure transmitter, but not directly, and add a buffer tube in front to measure the impact pressure. This method is economical, easy to install, and widely used .
Third, how to calibrate the pressure transmitter.
First of all, the real calibration of the pressure transmitter needs to use a standard pressure source to input the transmitter. Since the standard device is not used, the adjustment range (LRV, URV) is not a calibration, and the input part (input transmitter pressure) is ignored for output adjustment ( Transmitter conversion circuit) is not a correct calibration.
In addition, the current output relationship between the pressure detection component and the A/D conversion circuit is unequal, and the purpose of calibration is to find out the relationship between the three. Connect the pressure source to the self-made joint through the rubber tube, close the balance valve, check the sealing of the air circuit, then connect the ammeter (voltmeter) and manual operator to the transmitter output circuit, and start the calibration after power-on and preheating. We know that no matter what type of differential pressure transmitter, the positive and negative pressure chambers have exhaust, exhaust valves or cocks; this provides convenience for us to calibrate the differential pressure transmitter on site, that is, we can Calibrate the differential pressure transmitter. When calibrating the differential pressure transmitter, first close the positive and negative valves of the three-valve group, open the balance valve, then loosen the exhaust, exhaust valve or cock, and then replace the positive pressure chamber, exhaust valve or cock with a self-made joint; The pressure chamber is kept loose to allow it to be ventilated.
First adjust the damping to zero state, and then fill up the pressure adjustment range so that the output is 20ma. On-site adjustment is relatively quick and convenient. In addition to the mechanical and electrical circuits, the smart transmitter is also a micro-processing chip that operates the input data between the input pressure source and the generated 4-20ma current signal.
Proceed as follows to calibrate a real pressure transmitter:
1. First perform a 4-20ma fine-tuning correction on the D/A converter inside the transmitter, because it does not involve sensor components and does not require an external pressure signal source.
2. Fine-tune the whole process again to make the digital reading of 4-20ma consistent with the actual pressure signal applied, so a pressure signal source is required.
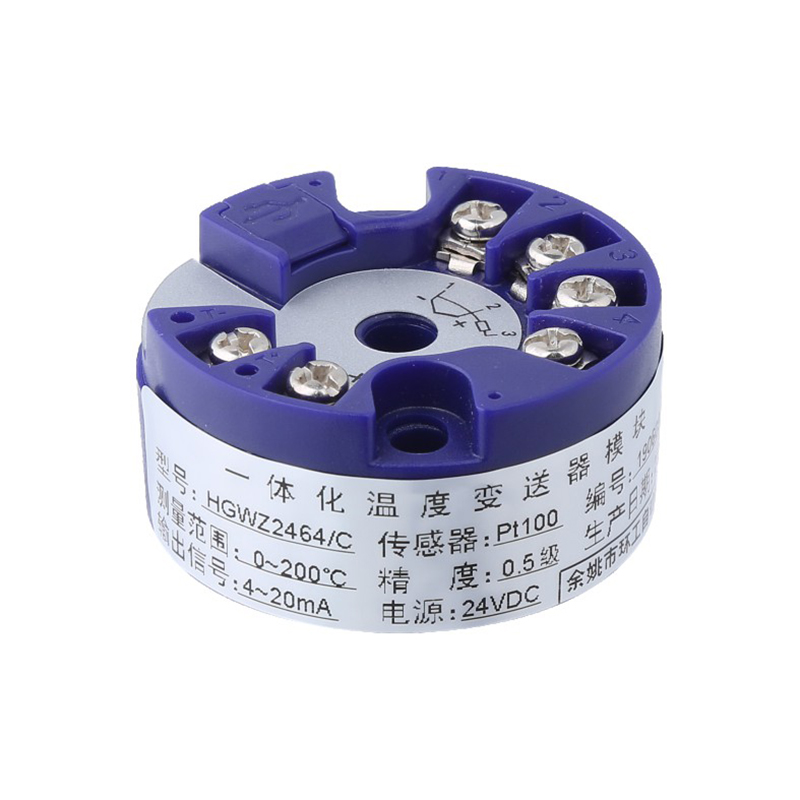
 HGWZ2464 temperature transmitter
We have advanced and complete top-notch testing equipment in the industry, physical testing laboratories, automatic pressure calibration equipment, automatic temperature calibration equipment, etc. The above equipment can fully ensure the provision of high-precision final products to customers, and can ensure that customers can meet all-round testing requirements for physical and chemical properties of materials, high-precision geometric dimension testing, etc.


 English
 русский


